

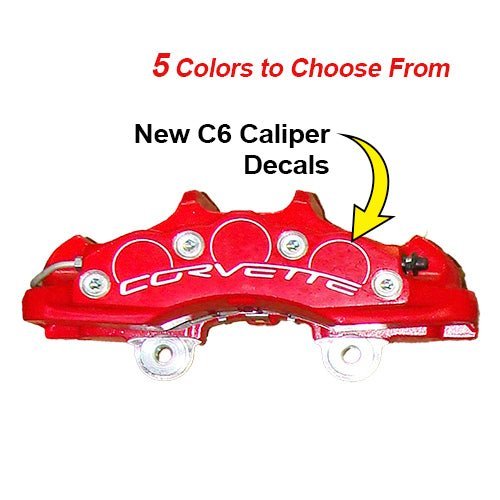


Corvette C6 Z06 Brake Caliper Decals - High Temperature
- Regular price
- $14.95
- Regular price
-
- Sale price
- $14.95
Earn 7 Reward Points.
Learn More...
Here is only a suggestion: Reward Points function (demo function). To use real Reward Points, you need a 3rd party Shopify App.
Your items may arrive sooner than the estimated delivery date. Ralph Lauren reserves the right to send packages via other shipping methods based on the shipping destination as long as orders will still arrive within the arrival times outlined on RalphLauren.com.
When you choose the Economy delivery option, packages are delivered Monday through Saturday 8 AM to 4:30 PM. Orders sent by Fast, 2-Business-Day or Next-Day shipping methods are delivered Monday through Friday from 8 AM to 4:30 PM.
We recommend choosing Fast or Next-Day delivery if you are shipping your package to a business address. You will be asked to provide a telephone number on the shipping page of checkout, which is important in the event the courier needs to arrange a delivery time with you.
You will also be asked to provide an email address, to which we will send confirmation that your order was placed.
Couldn't load pickup availability
Description
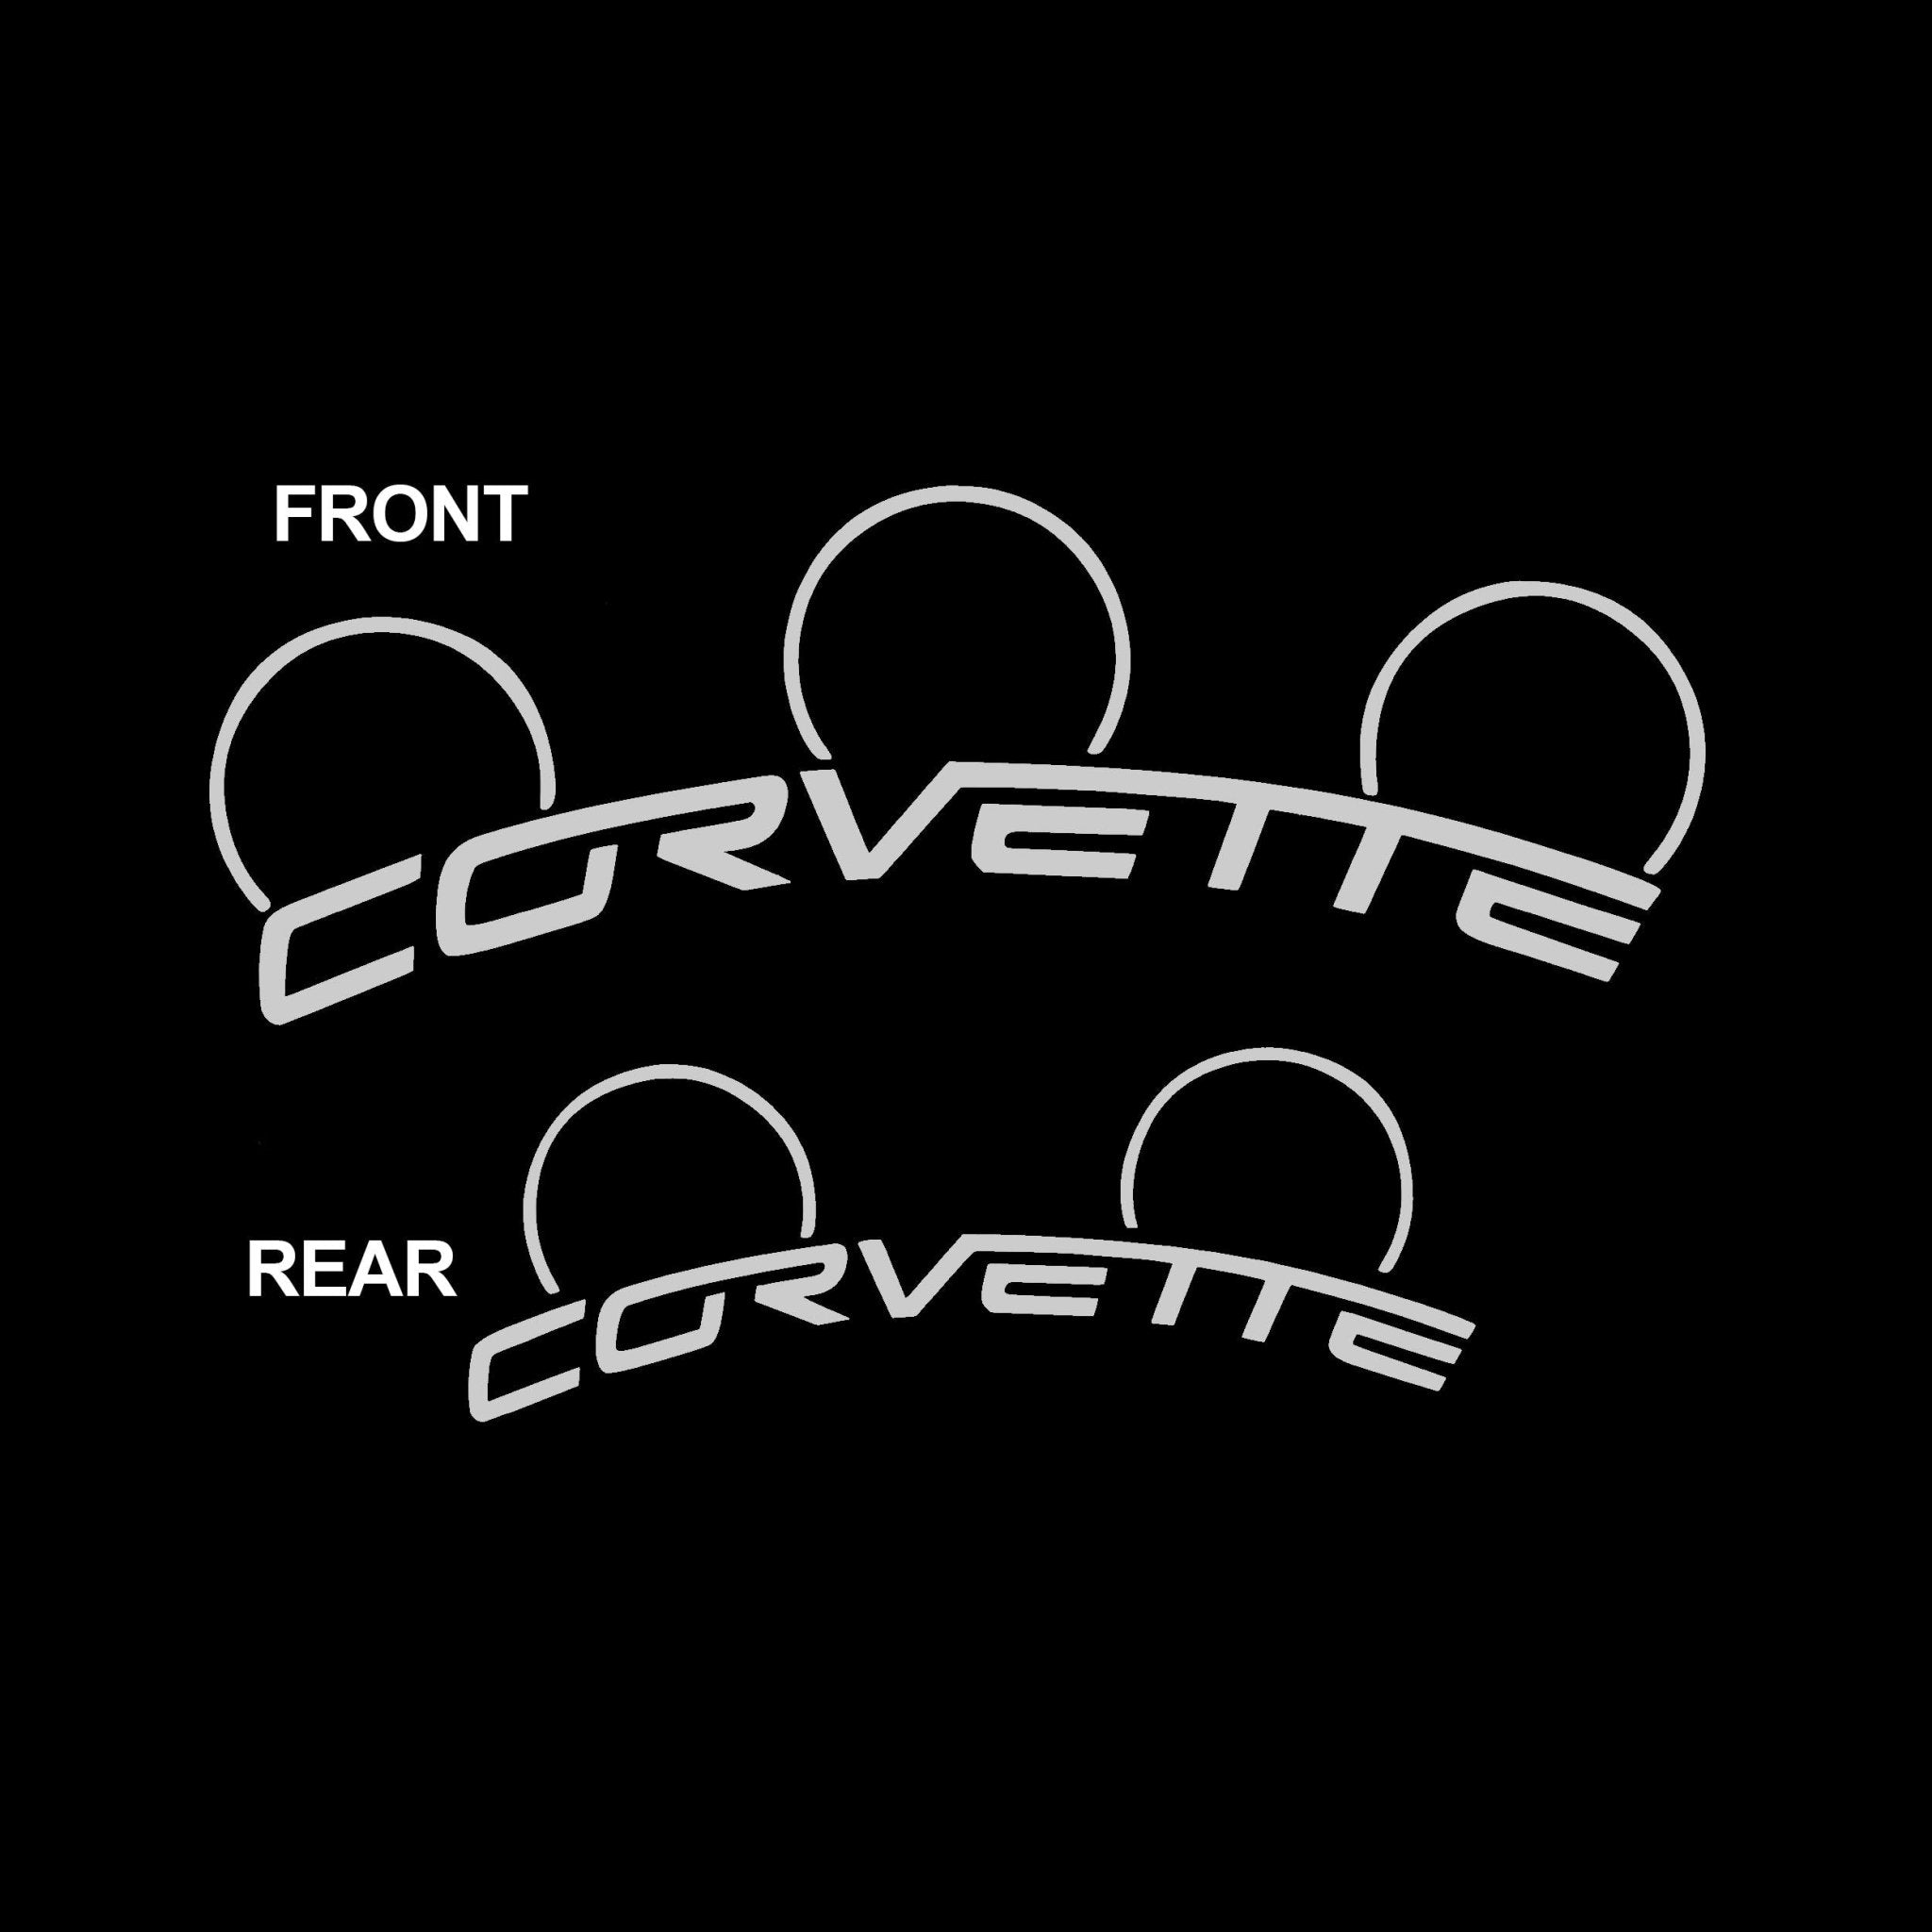
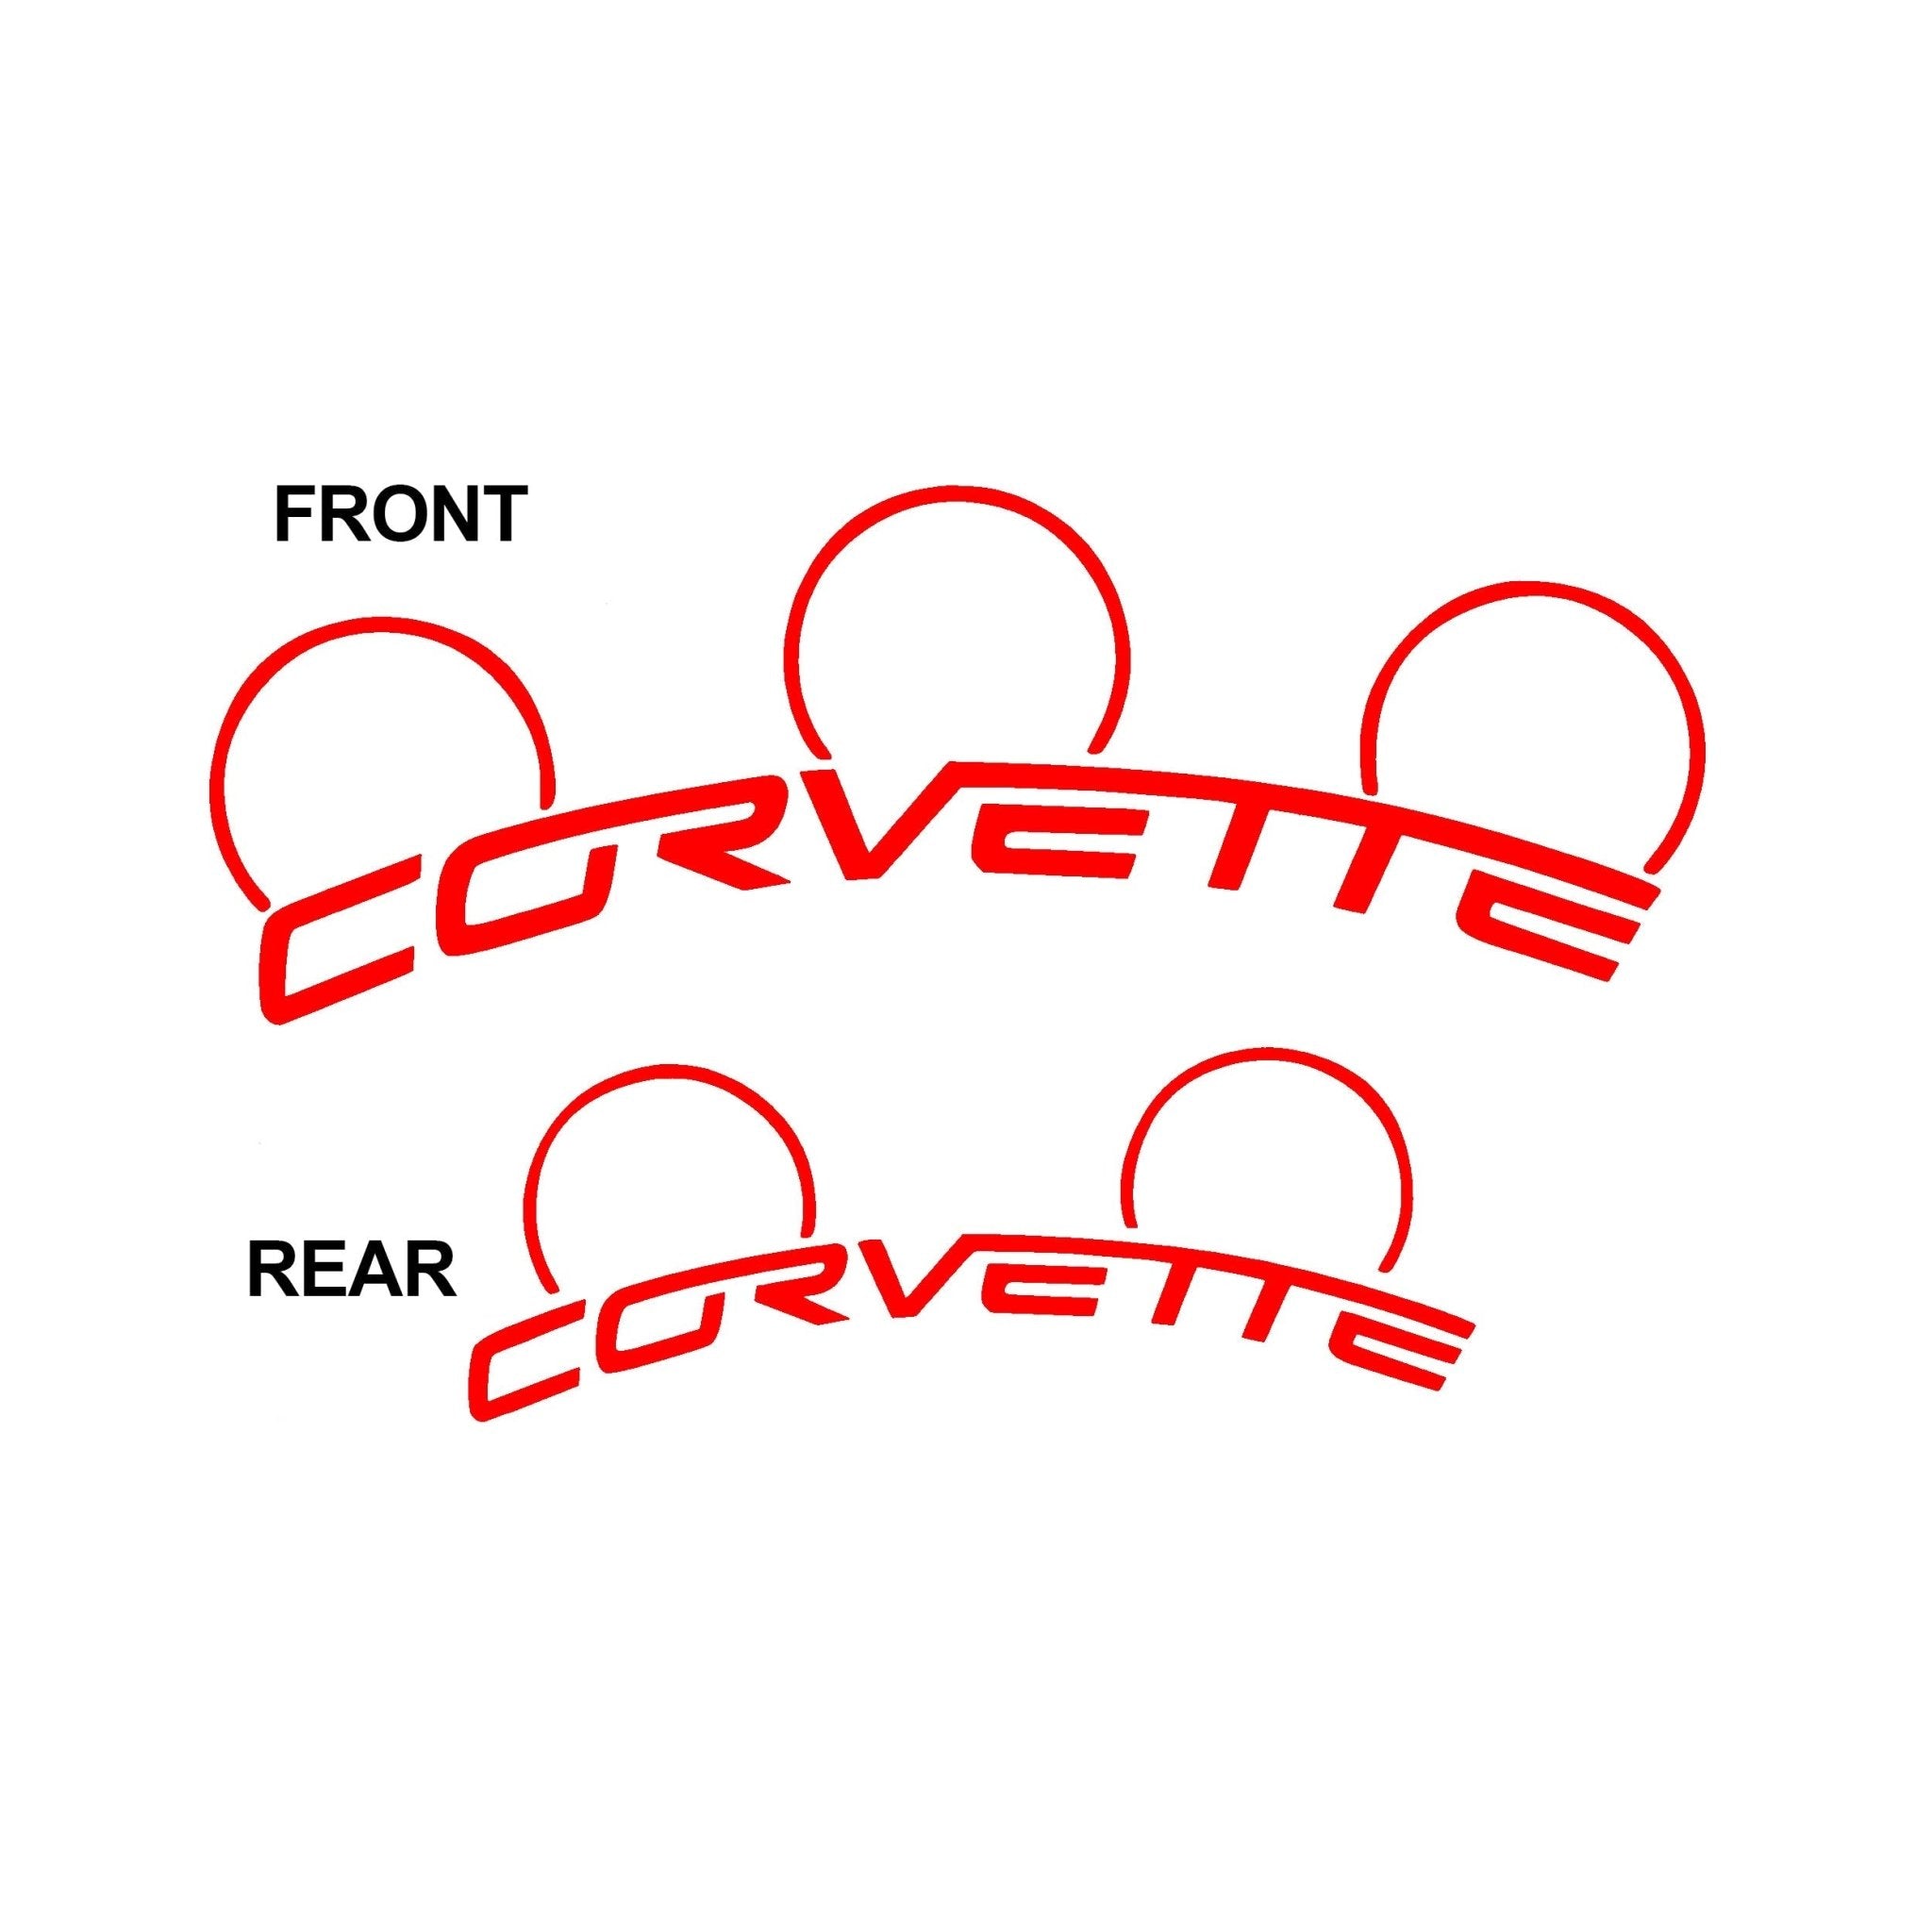
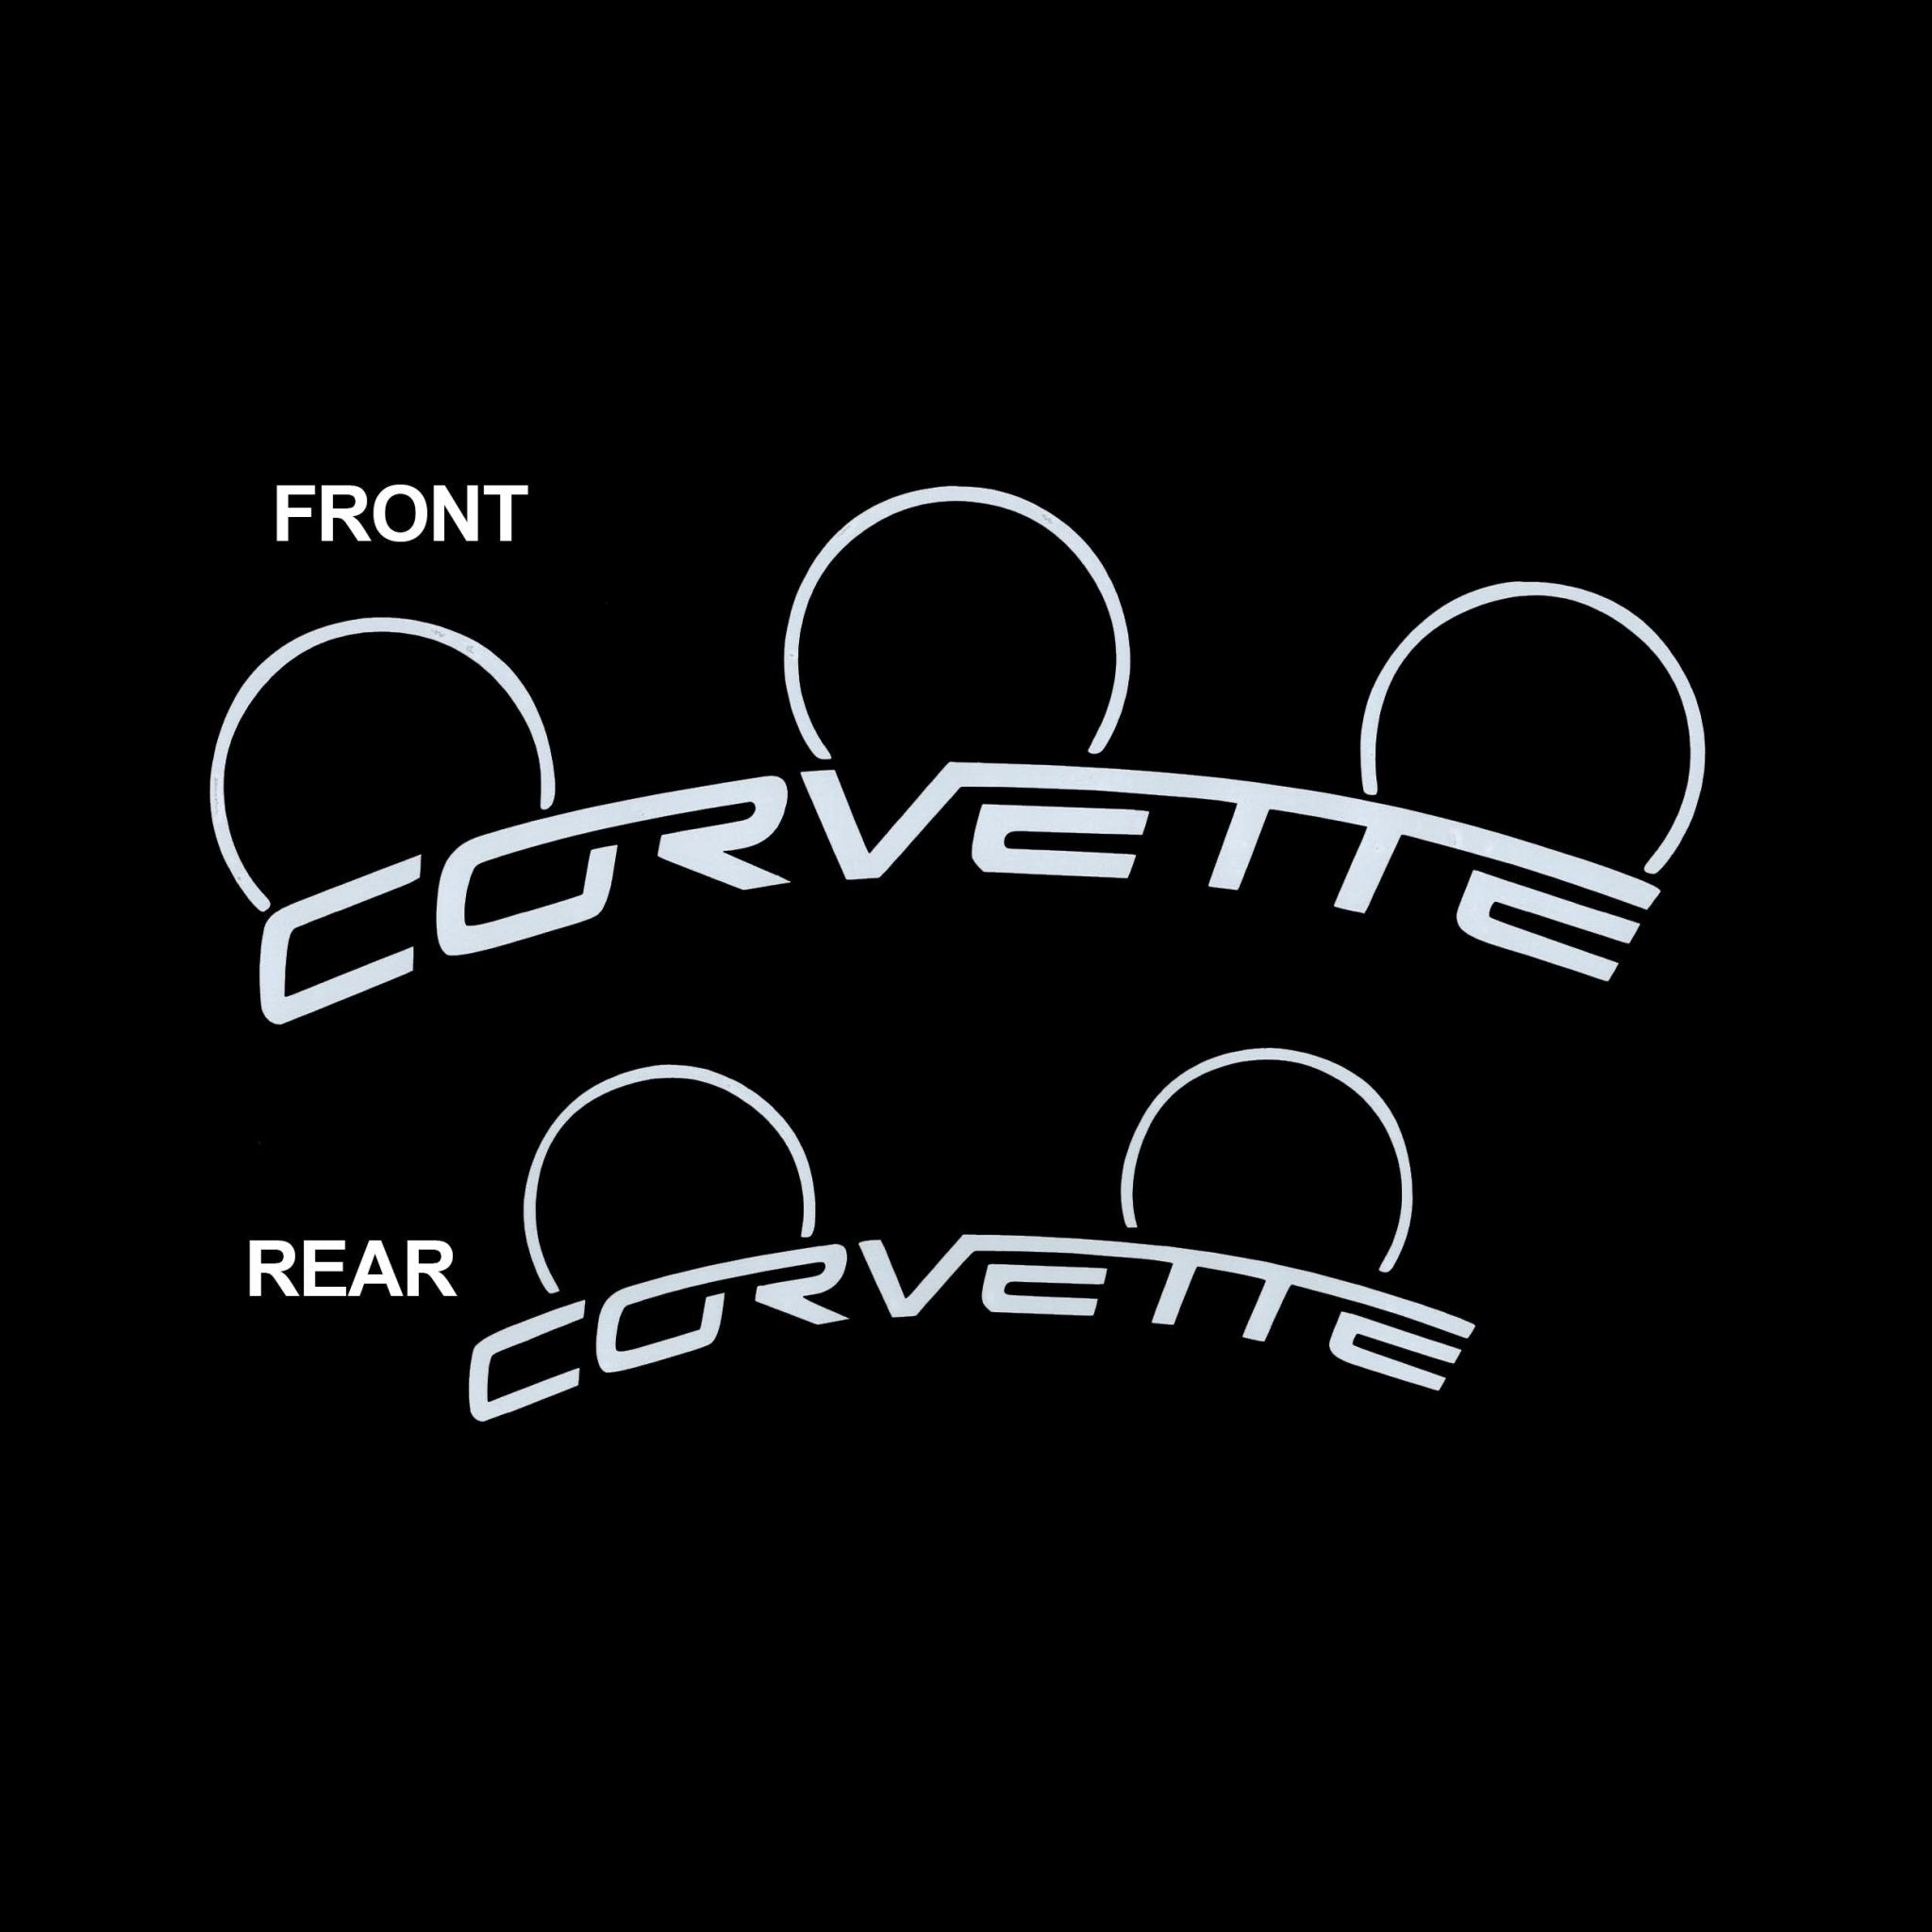
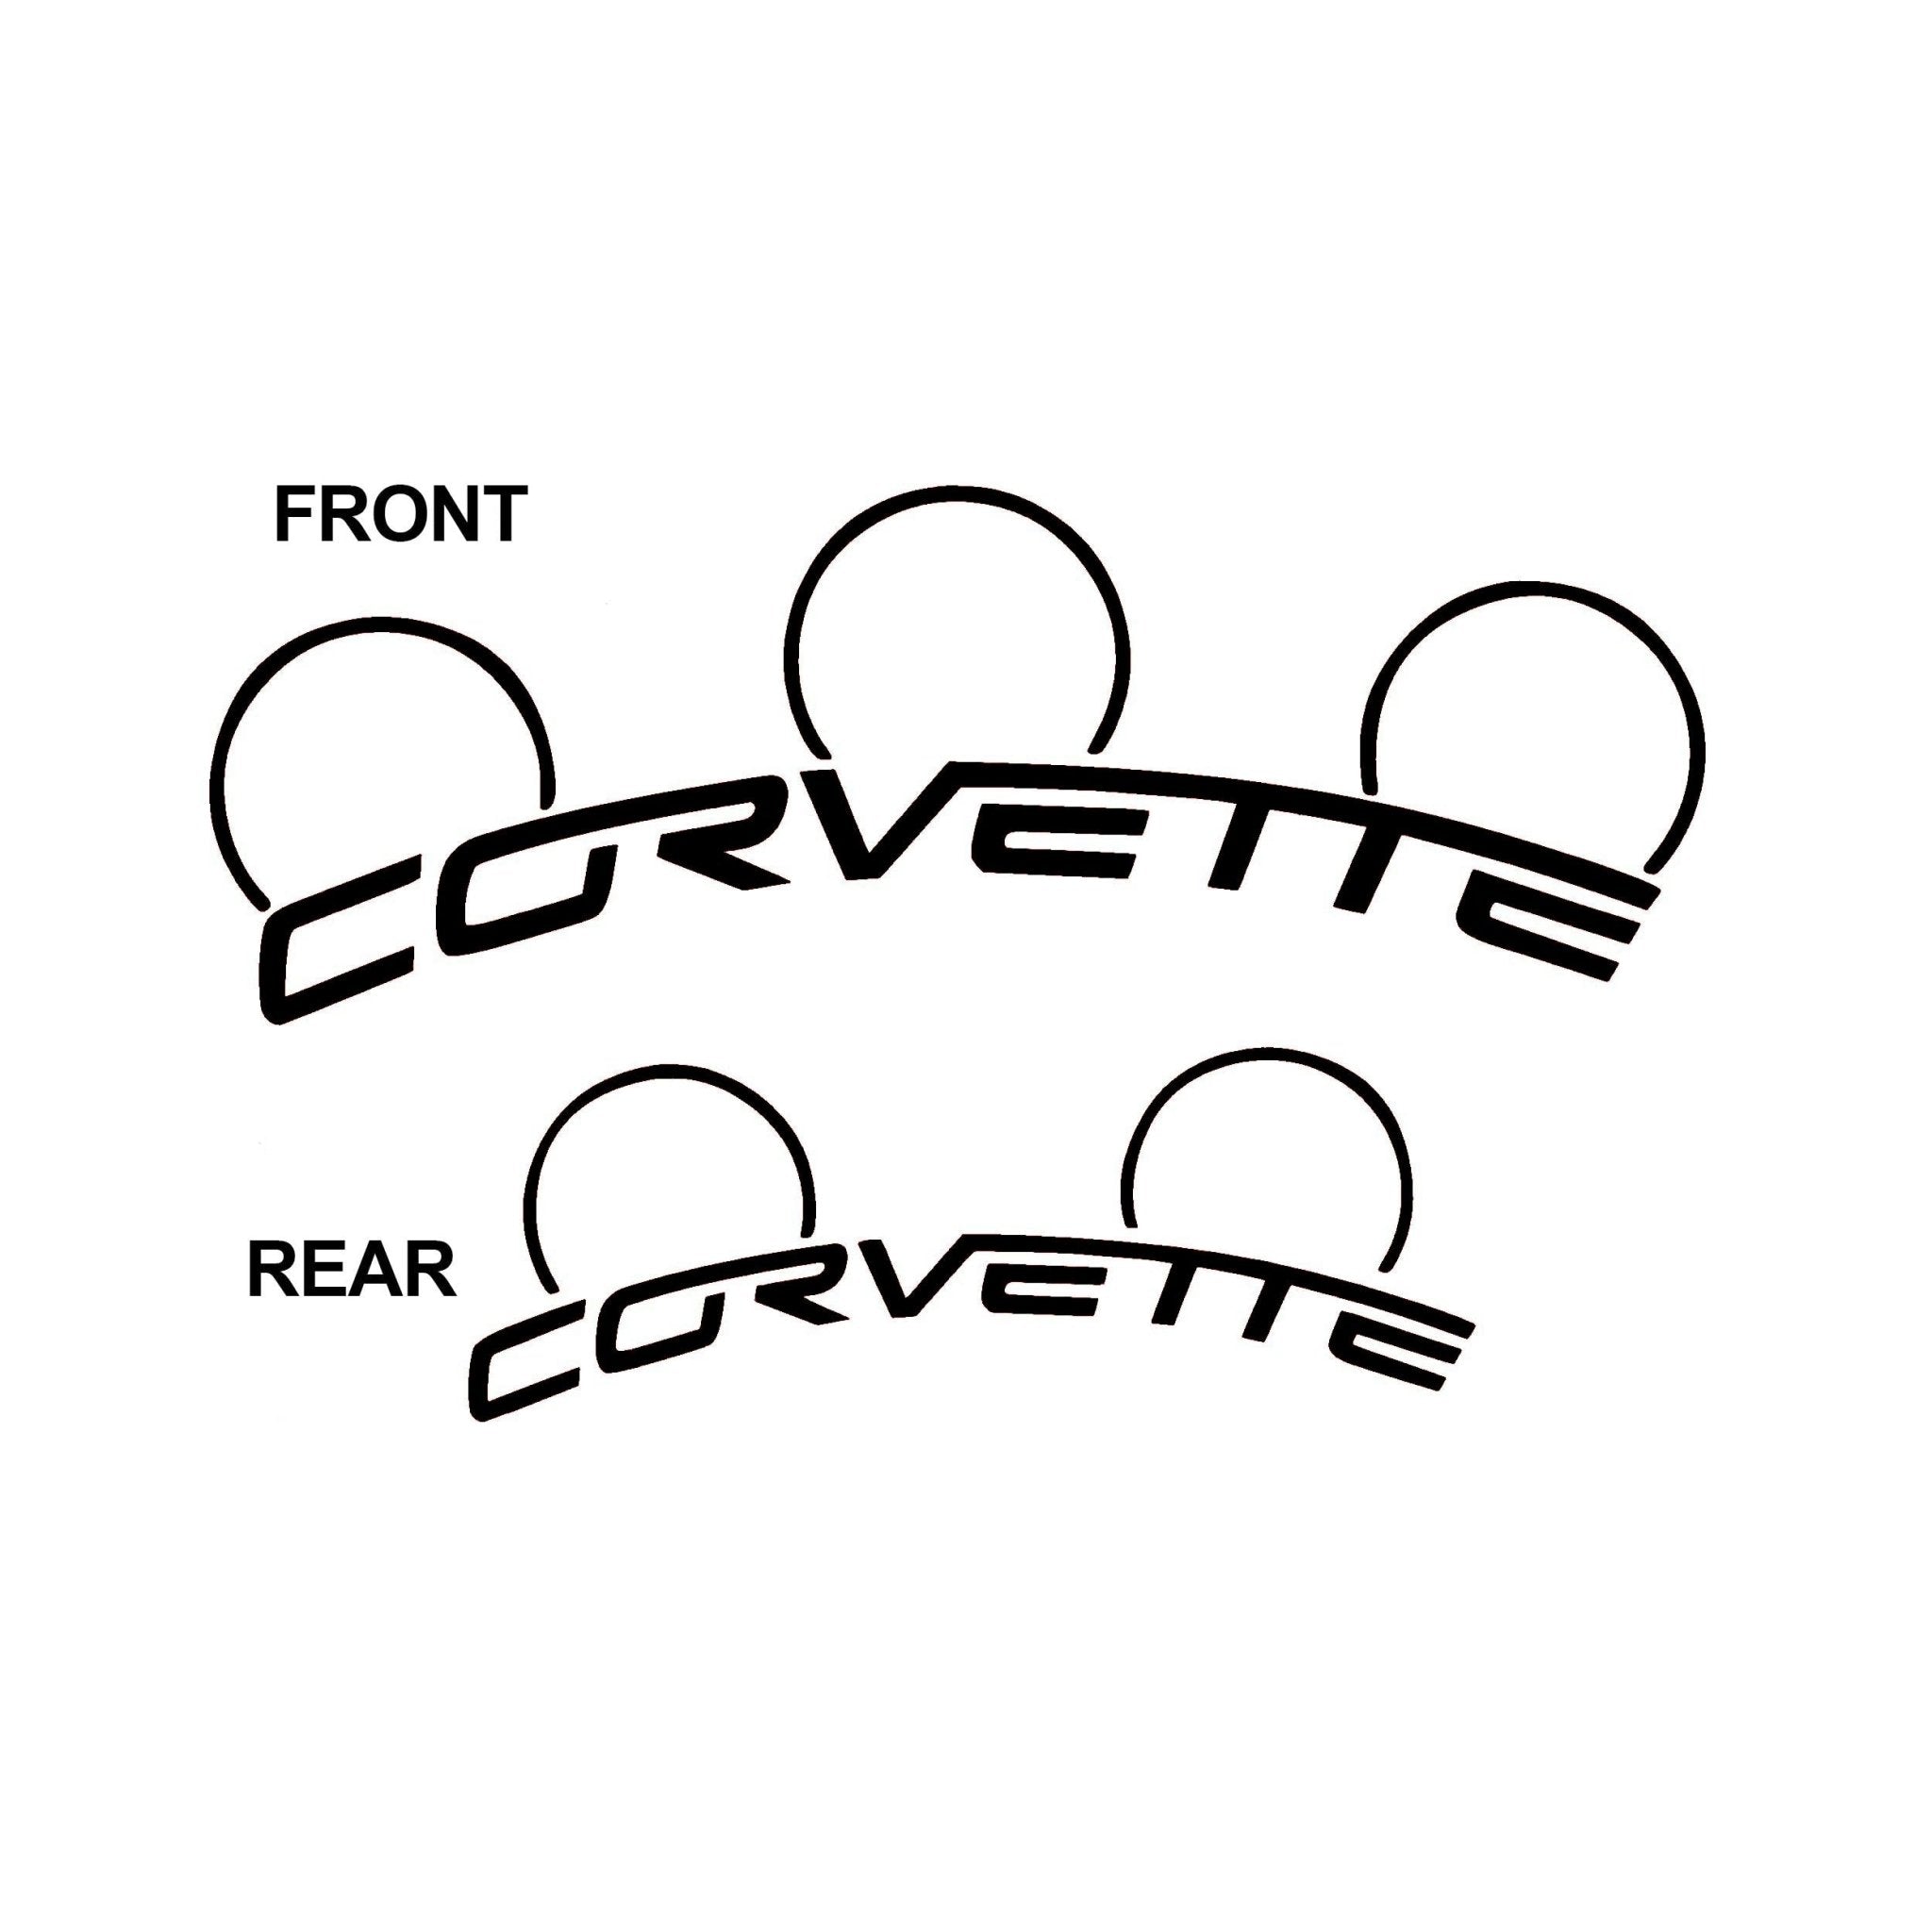
This four decal set comes with two decals for the front calipers two slightly smaller decals for the rear calipers. These decals are the same size and style as the original OEM painted-on versions.
This is high-quality, six-year-rated vinyl perfect for high heat automotive applications.
Application instructions will be included.
If you need a different color or size, please contact me.
Instructions
VINYL DECAL APPLICATION INSTRUCTIONS
About Vinyl Decals
These are DIE-CUT decals meaning there is no background. If there is a background color in the picture, it is used only as an example. The background color will be the color of the surface you place the sticker on, or clear if you put it on a window.
Vinyl Decals come in Three pieces
- Top layer is a transparent transfer tape (Holds your decal or sticker together until it is applied)
- Middle layer is your actual decal or sticker (It is sandwiched between the Application Tape and the Wax Backing)
- Bottom layer is the wax backing (protects the adhesive until the decal is ready to be applied)
Tools Needed
- X-Acto knife with No. 11 blade – USE CAREFULLY! (helps with puncturing air bubbles, trimming off excess material around decal before applying, and helping lift stubborn decals parts from the backing paper)
- Credit card or small plastic rigid squeegee
- Microfiber cloth
- Scissors
- Masking tape
- Measuring Tape
Surface Preparation
General
- Do not apply on extreme cold or hot Surfaces. Ideal temperature must be between 60°F & 90°F.
- Before applying decal make sure there is no wax or oily products on the surface.
For Car Painted Surfaces
- Use soap and water. Rinse/wipe well to get any soap residue off and dry with microfiber cloth.
For Other Surfaces
- Do not use glass cleaner
- Wipe with water and then rubbing alcohol for most surfaces (except car paint).
Application Instructions
- Do not touch the adhesive backing, oils from your skin will prevent sticking.
- Rub the sticker to be sure the transfer tape is properly adhered to the sticker.
- Clean and dry the desired area. Stickers will stick best to clean smooth surfaces.
- Remove the wax backing slowly making sure the sticker stays adhered to the transparent transfer tape
- Carefully position the sticker to the desired area.
- Rub the sticker from one side to the other, eliminating any air bubbles.
- Use an object like a credit card to make sure the entire sticker is fully adhered to the surface.
- Slowly remove the transfer tape, making sure no part of the sticker remains on the transfer tape.
- Check for air bubbles. In most cases air bubbles can be worked to the edge of the sticker, but if not, a pin hole will allow the air out and become virtually invisible.
Video Instructions
How to Apply a Car Decal - Detailed Steps - Dry Method - Application to Removal - YouTube
If you have any questions or issues, you can text or call me at 402-517-2129. I can also make any other styles – just let me know!
Share